As I was working with my Raspberry Pi 3 running Raspbian Stretch Lite for some other project, I wanted to test my NeoPixels with the same. After a bit of online research, I found out that many people have used level convertors to convert 3.3V logic of RPi3 to 5V logic of NeoPixels. Any how I wanted to try out the direct connection without any logic conversion with below options.
1. Powering up NeoPixels with 3.3V, so that the logic level will be the same as RPi3. Some posts from internet suggested that brightness will be reduced. As per my observation it is negligible.
2. Powering up NeoPixels with 5V, but connect RPi3 3.3V logic directly and hope for the best. But in my test setup, it worked perfectly without any issue.
The connection between RPi3 and NeoPixel PCB was straight forward when using the RPi3 library called rpi_ws281x.
GND -> GND
GPIO 18 (PWM0) -> DIN
5V or 3.3V -> 4-7VDC
GND -> GND
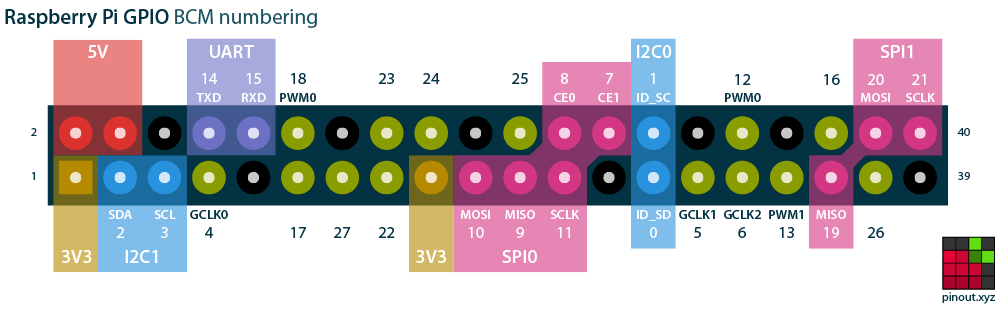
RPi Pin-out courtesy of pinout.xyz

You can follow up the detailed user manual of rpi_ws281x as a guide to install and use the library with Raspbian Stretch Lite. I used below commands in order to test.
Download and install the library
pi@raspberrypi:~ $ sudo apt-get update
pi@raspberrypi:~ $ sudo apt-get install build-essential python-dev git scons swig
pi@raspberrypi:~ $ mkdir neo
pi@raspberrypi:~ $ cd neo
pi@raspberrypi:~/neo $ git clone https://github.com/jgarff/rpi_ws281x.git
pi@raspberrypi:~/neo $ cd rpi_ws281x
pi@raspberrypi:~/neo/rpi_ws281x $ scons
pi@raspberrypi:~/neo/rpi_ws281x $ cd python
pi@raspberrypi:~/neo/rpi_ws281x/python $ sudo python setup.py install
Testing with standtest.py script
pi@raspberrypi:~/neo/rpi_ws281x/python $ cd examples
pi@raspberrypi:~/neo/rpi_ws281x/python/examples $ ls
lowlevel.py multistrandtest.py neopixelclock.py SK6812_lowlevel.py SK6812_strandtest.py SK6812_white_test.py strandtest.py
pi@raspberrypi:~/neo/rpi_ws281x/python/examples $ nano strandtest.py
Change parameter as below for my 8 LED strip then CTRL+X and then Y to save:

pi@raspberrypi:~/neo/rpi_ws281x/python/examples $ sudo python strandtest.py
Press Ctrl-C to quit.
Color wipe animations.
Theater chase animations.
Rainbow animations.
This is the final result of my setup running standtest.py test script.
